In the last lessons, we created three comets, and chatted between the comets. In this lesson, we'll continue using the three ships we set up.
Last lesson's connection was far from perfect. As soon as we closed the Terminal, Urbit forgot about our variables. Also, the message was not delivered if the other person's Terminal app wasn't open.
In this lesson, we'll show how Urbit makes it easy to connect with others. This lesson has mostly administrative detail that we'll use in the next lesson. We'll
- learn how to find a developer;
- download our first app; and
- connect our ships.
Find a Developer
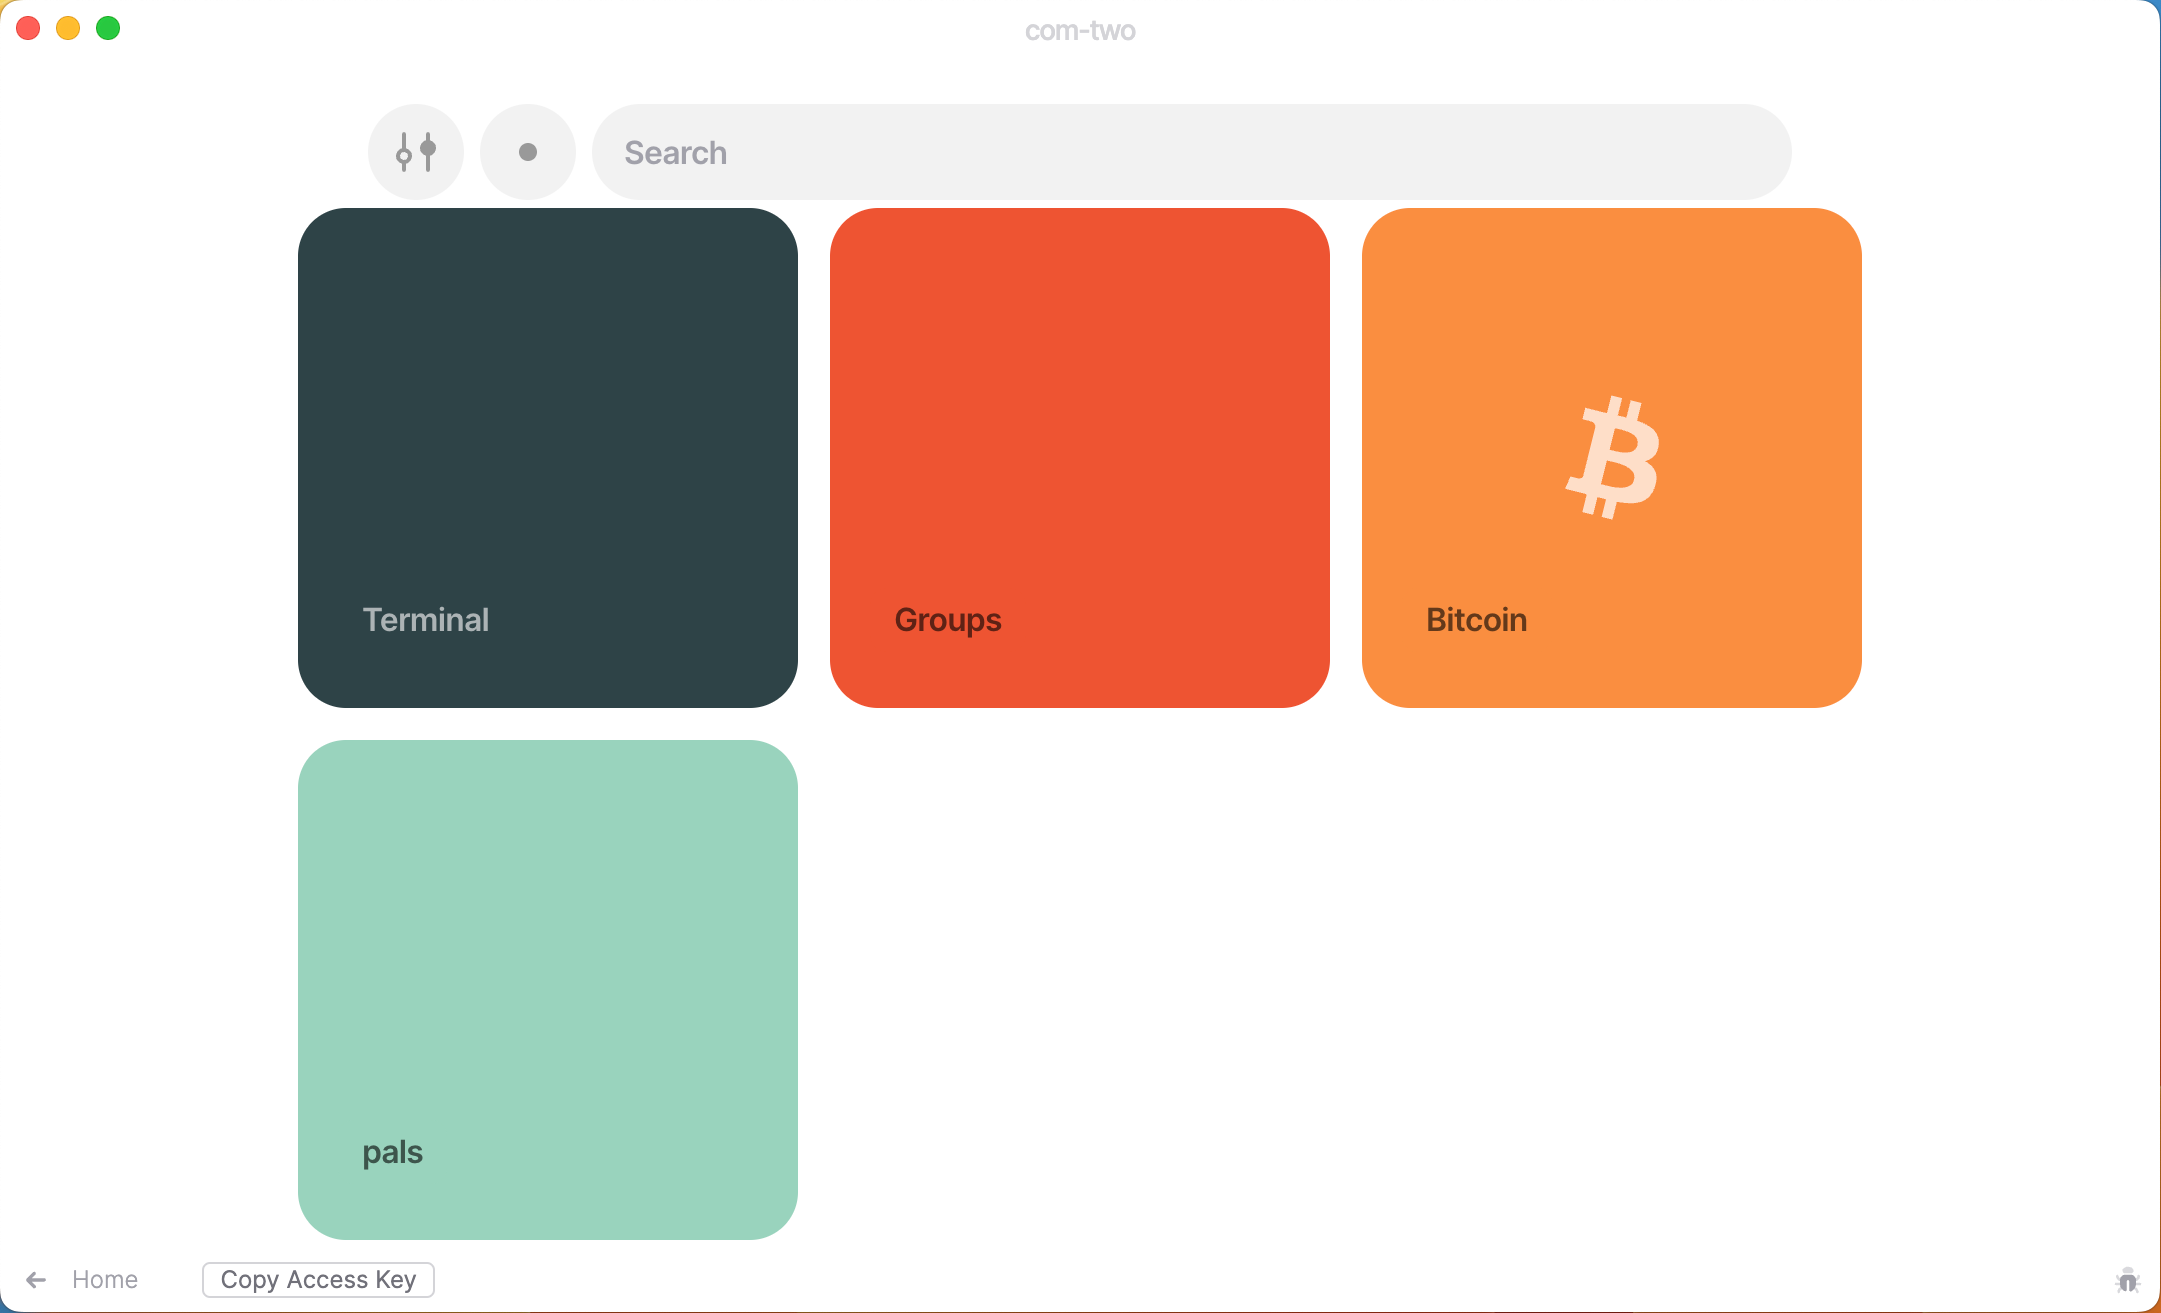
Launching a recently created comet, we see the three default apps in Landscape: Terminal, Groups and Bitcoin. Above that is a search bar, and that is where we'll start.
In the search bar, enter ~paldev (in this case, the ~ is not important, Urbit's search will add it for you).
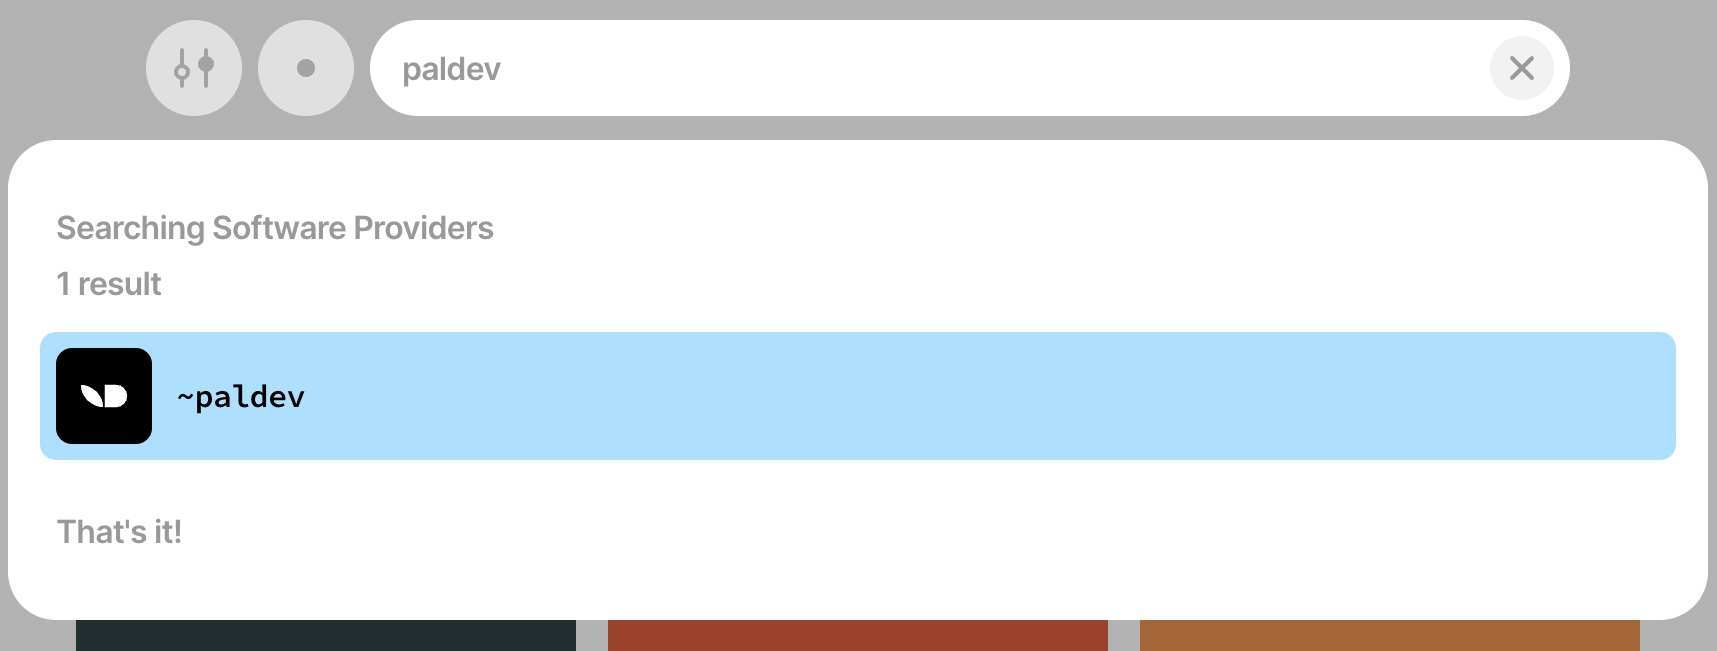
~paldev is a well-known developer in the Urbit community who has made many apps that are used daily. This background is important to know because Urbit apps are not sandboxed in the same way an iOS app is; they have access to read and write everything in your ship. The code is available to review so you can make sure that the app won't do things it should not, but most people don't take the time or effort, so reputation is important in the Urbit community. This is one place where Urbit will grow and mature, but right now, it's the way it is.
Find an App
Once you select ~paldev, the comet will find all the software developed and shared. We're looking for 'pals' (friendlist for peer discovery). Choose it and then "Get App".
You'll see a confirmation message that reminds you that Urbit is still a work in progress. If you're still feeling unsure, it's worth remembering we're using a comet that we will throw away later with no important content in it; this helps to reduce our risk to zero. When using your own planet, it's good to stay aware of how much more information you could expose.
The app can take time to install and while it does, you can go back to Home and repeat the process in the other two comets.
Launching Pals
Once pals finishes installing, Landscape will have a new app tile that looks like this.
Selecting the pals tile, a new window pops open. There's some introductory information and your first pal, the developer, is already added by default.

When you enter a pal's address, you see the arrow pointing up and to the right beside their name. This means you have initiated a connection.
If someone adds your address but you do not have their address in your list, it will show an arrow pointing down and to the right.

If both ids are connected, you will see a smiley face.

Exercises
Exercise: Connect your Ships
The first exercise for this lesson is to add all three comets to each other's pals list.

The steps are:
- Open your first ship's Landscape and then pals window.
- Enter the ids for the other comets.
- Include a tag that helps you remember which is which (I chose one, two, three).
- tags must be lower case and can include numbers and
-
- tags must be lower case and can include numbers and
Exercise: Install the escape App
Our second exercise is to install the escape app.
- Find the developer ~dister-fabnev-hinmur and install the escape app.
- Re-order the tiles in Landscape so that Escape is at the top-left of the list by dragging and dropping.
Troubleshooting (What could possibly go wrong?)
Give it a Minute
Sometimes you'll get the message "Unable to find software developed by…". Remember that Urbit is a peer-to-peer system, so the code you're downloading is coming from other people's ships. Those ships may be busy doing other things, have a poor network connection, is off-line (e.g., the computer Urbit's installed on has fallen asleep). It is best to give it a minute.
The system is getting much better. Two years ago, "give it a minute" was such a common response to requests for help it became a joke. These days, the responsiveness of the network is improving almost daily.
Failure to Parse Request
When entering an id, it's easy to get it wrong, leading to a "failed to parse request" error message.
While annoying, it just indicates a typing mistake.
Double-check you included the ~.
The other reason is the tag contains disallowed characters.
Make sure not to use special characters (other than -) or capitals.
Next Up
In the next lesson, we'll give the pals app a workout and, in the process, discover a much better way of sending messages.